Get 100GB of free storage in the myQNAPcloud Storage cloud like this

The popular NAS server manufacturer QNAP launched a few months ago a public cloud to store your files and folders to further protect your data. This storage service involves a monthly or annual subscription, but if you register completely free, you are entitled to 16GB of storage completely free, so you can try the service. Now QNAP will allow us get 100GB of cloud storage totally free Additionally, that is, we will have 116GB of QNAP cloud storage at no cost. Do you want to know what you must do to obtain it?
To make a good backup, it is essential to have a private cloud such as a QNAP NAS server, but it is also essential to upload all the data to the cloud, to have a remote backup copy accessible at all times in case of need. Although today there are many public clouds such as Google Drive, Dropbox, OneDrive, pCloud and many more, using myQNAPcloud Storage on our manufacturer's NAS means that the integration with HBS3 and Hybrid Mount is perfect.
Steps to get the additional 100GB for free
QNAP makes it very easy to enjoy the additional 100GB of myQNAPcloud Storage, and you simply have to follow the following steps:
- Click here To access the campaign page, you need to log in using the QNAP account we normally use on our NAS server.
- Enter the official website of myQNAPcloudyou must access with the session already started.
- Choose the region of your myQNAPcloud Storage, we have chosen Paris since it is the closest geographically.
Now we have to make use of Hybrid Backup Sync (HBS3) to backup some data from our QNAP NAS to myQNAPcloud Storage. You can install this application directly from the NAS server's App Center:
Now we have to create a new backup job in the QNAP cloud, the process is very simple, but we must make a copy of less than 16GB in size since that is the limit we have by default. After QNAP verifies that we have made a backup, we will then be able to have the additional 100GB.
The process to configure a new job in HBS3 involves clicking on «Create a new job«, we will have to choose a source folder for the data. It is necessary that this folder has a size less than 16GB because otherwise we will fill the storage space and it will give an error. Then we will choose how destination the cloudand we choose myQNAPcloud Storageas we have logged in previously, it will automatically recognize it and we will not have to do anything, and it will show us both the name of the cloud storage, our registration email and also the region, as well as the capacity used.
It is recommended that we create a folder in the destination cloud, we can give the folder any name such as “BackupNAS” and click on the add folder button.
Once we've done that, we can give the job a name, a description, and see both the source and destination. If we click on «Following» We can see the job scheduler options, if we want to manage versions or check data integrity. We can also configure different rules to filter files that we do not want to be copied, view policies, advanced settings to compress data and use deduplication, and other options. Finally, it will show us a summary of all the configurations, and we click on «Create«. Once done, click on the blue button that says «Back up now» and the process will begin.
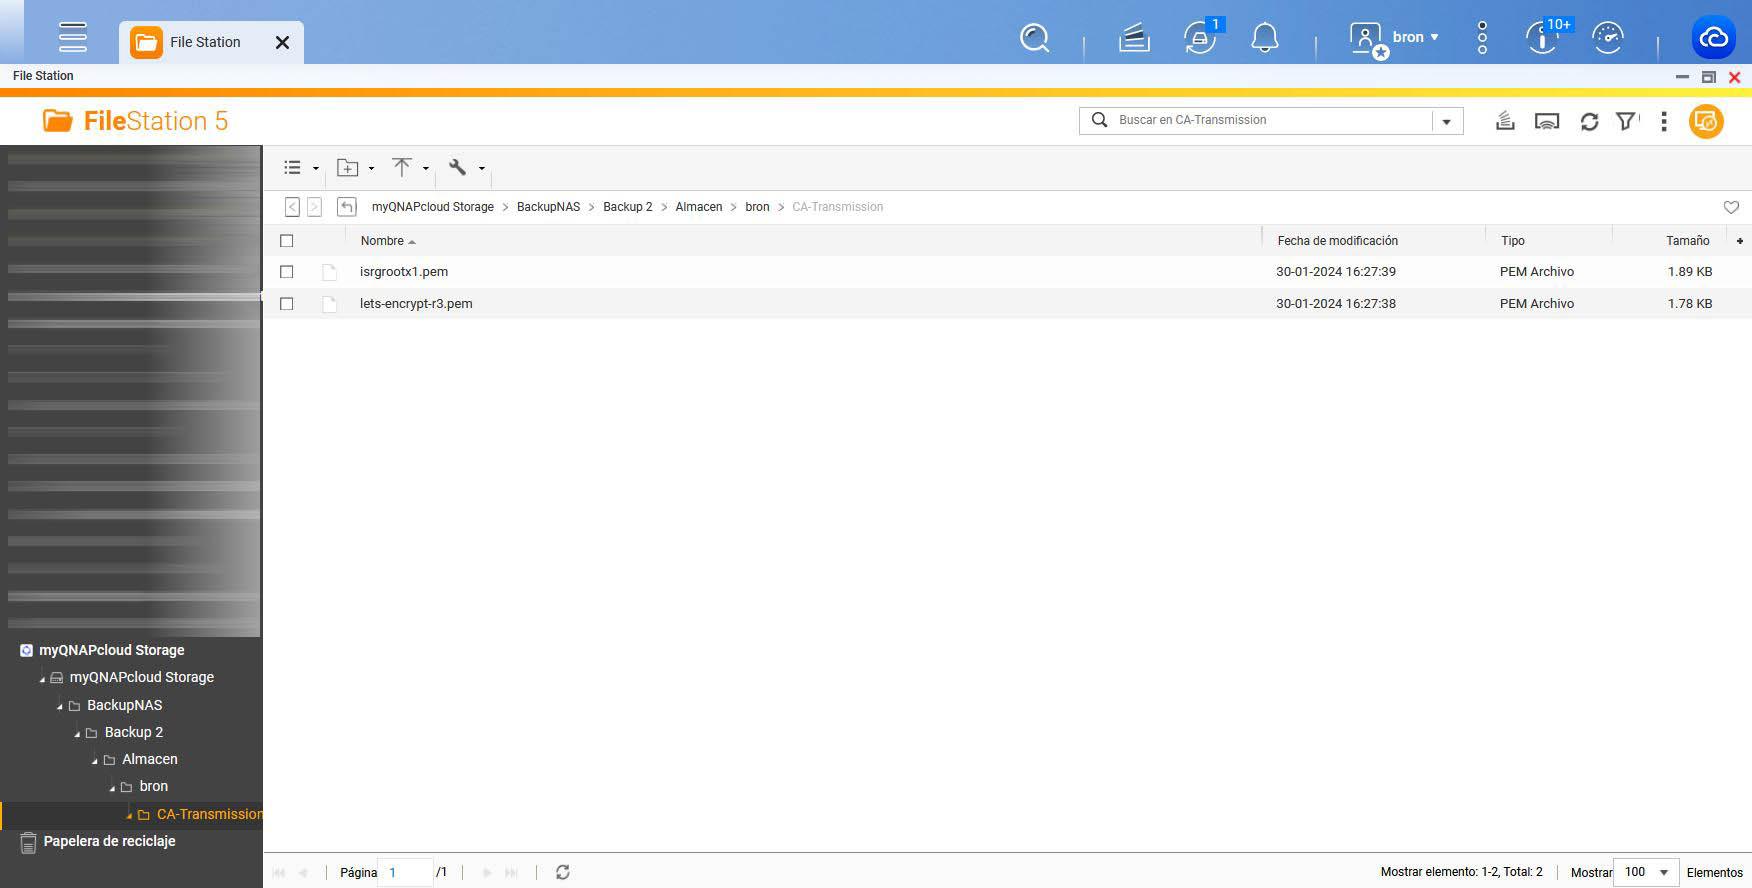
Once the backup has been made, if we integrate this service with HybridMount, we will be able to access all the data in the cloud via File Station.
As you can see, integrating this myQNAPcloud Storage service with our QNAP NAS is really simple, now we just have to wait for QNAP to give us 100GB of free cloud storage.


